If you have never attempted to weave a willow basket, it can seem daunting. However, with the proper tools and materials, you can get started right away. Once you master the basic techniques, you can then improve your skills and experiment with different designs.
In this guide we will cover some of the basic materials, tools, techniques and tips to help you on your way with basket weaving using willow.
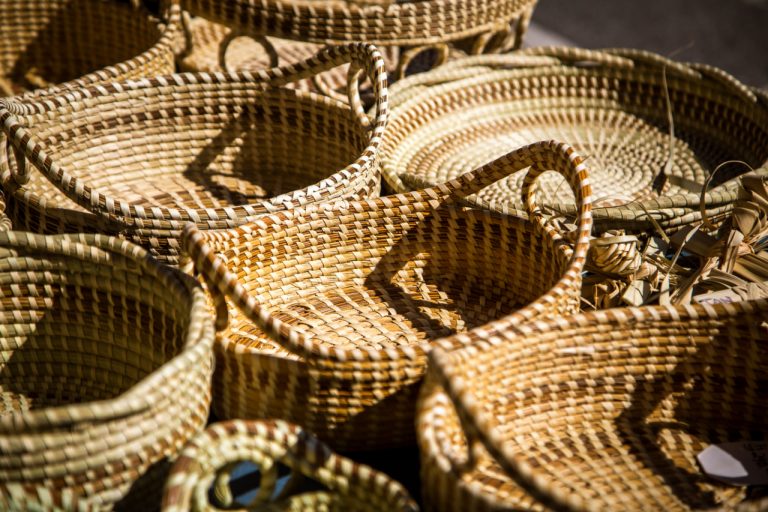
Before diving into the specifics of how to work with willow, it’s helpful to have a general sense of what the material is like. The look and feel of willow varies depending on the type and age of the plant, but here are some of the key characteristics:
The flexible nature, strength and aesthetic appeal of willow makes it highly valued. It is important to have a good understanding of the properties of willow to weave successfully.
Freshness and Flexibility: Willow rods are more bendy and less likely to break if they are fresh. Soaking dried willow can also help.
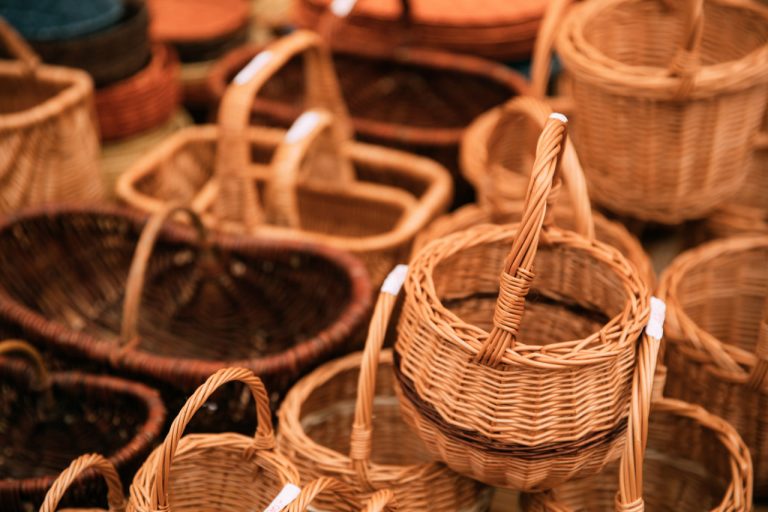
Diversity: There are various colors, gauges and textures of willow, which can be used to create a wide range of basketry.
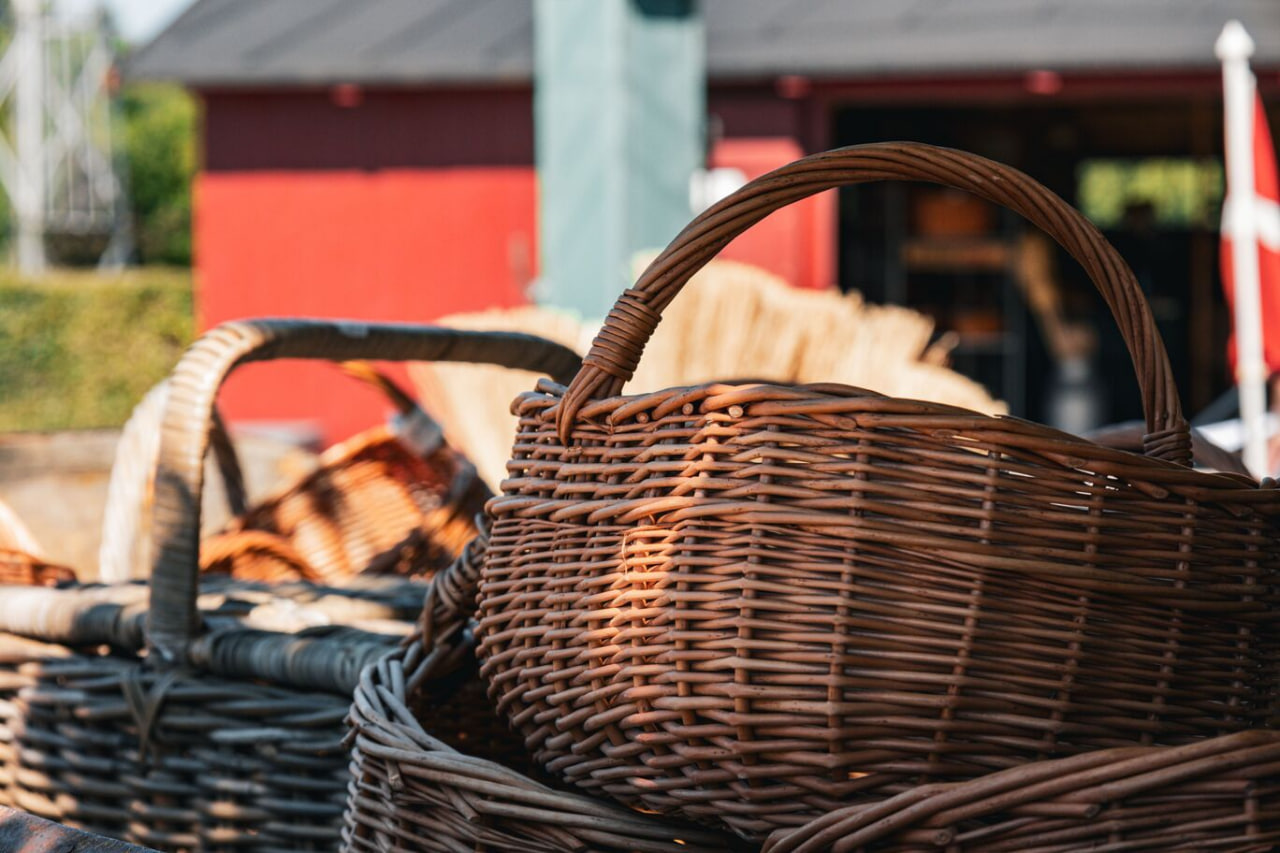
Longevity: When woven and dried correctly, willow baskets will last for a long time and are both functional and attractive.
Good quality willow makes basket weaving easier, stronger and gives a better finish to the basket.
To get started, you will need a few basic tools.
No specialized equipment is required to begin weaving, although there are some helpful tools:
Sharp Pruning Shears: For cutting the willow rods to size.
Soaking Container – Any container used to soak a rod in, so the rod becomes pliable.
A pointed tool, either an awl or a large needle, is necessary for parting the rods, as you weave, when making a close weave.
Measuring Tape or Ruler: For maintaining uniform size and proportion.
It is also helpful to have the correct tools, as it will prevent breakage, ensure consistency, and make the job more fun.
To ready willow for weaving, start by cutting it down, and then give it a soaking in water. Following this, take off the leaves, and cut it up into the lengths you need. Leave the smaller shoots whole, and split the thicker pieces. This makes them easier to weave. If you have any dried willow, you can rehydrate it by soaking it in water.
Before you start putting everything together, here’s what you need to do to make your basket-making experience as smooth as possible:
Soaking: Soak rods in water for a few hours or overnight to make them more pliable.
Sorting: Sort rods by gauge and size for each section of basket.
Trimming: This step involves trimming off any rough edges, knots, or splinters so that the reed will weave smoothly.
If you prepare properly it makes things much less frustrating and helps you be able to control and manage your weaving.
The Fundamentals of Weaving
If you’re a total newbie, learn these basic basketry methods that are the building blocks for every basket:
Begin with the base.
The rods are laid out in a cross.
Continue to interlace more rods over and under the original base rods to create a solid base.
Make sure the base is level and even so it doesn’t wobble.
To interweave the Sides:
Bend the vertical rods up to create the sides of the basket.
Place horizontal rods through them and wrap underneath, working in a tightening pattern, row by row.
Even spacing is required for a uniform texture and look.
Closing out the Rim
Bend the ends of the vertical rods over the edge or insert them inside to create a tidy edge.
Trim off any remaining bits to neaten the appearance.
If desired, add braids or loops for a decorative touch.
Once you have learned these fundamental skills you can make a beautiful basket that will also work properly.
Mistakes to Avoid as a Rookie
It’s worth learning these common mistakes so you can save time and get better outcomes:
Irregular weaving: Regularly check the space and tightness of the reeds to ensure the basket remains symmetrical.
Too tight: This can cause rods to break or frames to become distorted.
Weak Base: An insecure or loose base will compromise the stability of the basket; make sure it is secure before you weave the sides.
Soaking: Dry rods can crack – ensure rods are properly soaked before inserting them into your melt.
Understanding the common errors will help the newer lifters to form proper technique right from the beginning.
Weaving Instructions
Start with small baskets: Fill small baskets first to gain experience.
Don’t rush: Hurrying will make you mess up. Weaving is a slow, calming, and repetitive process.
Play around with patterns: If you’ve got the fundamentals down, consider doing some twill, spiral or check weaving to mix things up.
Gather inspiration: Research classic basketry styles as well as modern interpretations.
The more you practice and the more attention you pay, the better you’ll get and the more ideas you’ll have.
To maintain the quality and longevity of your handwoven basket, please avoid exposing it to water or direct sunlight for extended periods. For cleaning purposes, a soft-bristled brush or a dry cloth can be used. If you have any specific questions about the care of your basket, don’t hesitate to ask.
When properly cared for, baskets will last longer:
Never let baskets get wet because they will mildew or become distorted.
Wipe clean with a soft brush or damp cloth. Do not use strong detergents.
To preserve color and pliability, store in a cool, dry location out of direct sunlight.
If handled properly, baskets can last for many, many years both functionally and cosmetically.